1203 East College Street Brownsville, TN 38012


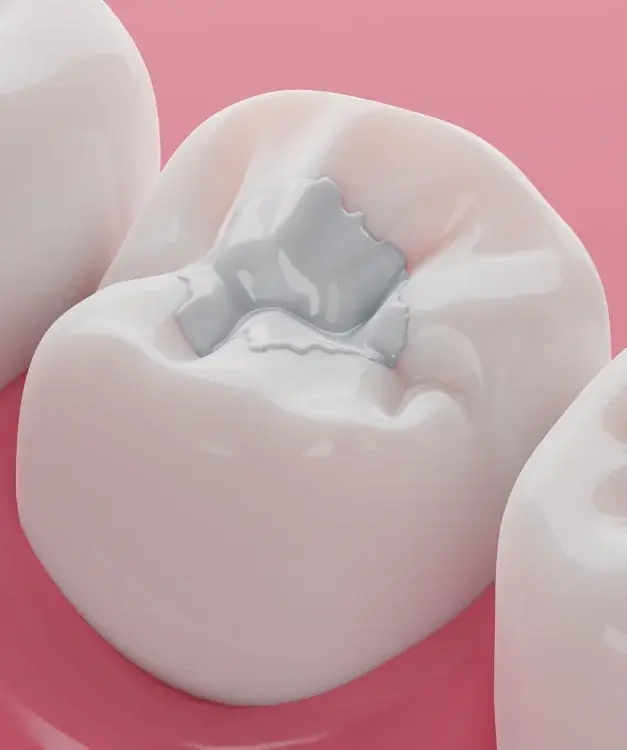
Restore Damaged Teeth with Natural-Looking Composite Fillings
A small cavity or chipped tooth can affect more than the appearance of your smile. When tooth structure is weakened by decay or minor damage, timely restorative care can help protect the remaining tooth and restore comfortable function. Composite fillings offer a tooth-colored solution that blends with natural enamel, making them a popular choice for repairing many cavities and small areas of damage.
At Dove Family Dentistry in Brownsville, TN, composite dental fillings are used to restore affected areas while preserving as much healthy tooth structure as possible. The treatment involves removing decay when present, preparing the area, and placing a durable composite resin that is shaped and hardened to restore the tooth. The final shade is selected to complement your natural teeth, helping the restoration look discreet when you smile or speak.
Why Choose Tooth-Colored Composite Fillings?
Composite resin fillings restore damaged areas while maintaining the natural appearance of your teeth. Depending on the location and extent of the damage, they may offer several benefits:
- Composite resin can be matched to the shade of your surrounding teeth, helping the filling blend into your smile.
- The material bonds to tooth structure, often allowing the treatment to preserve more healthy enamel than certain other restorative approaches.
- Composite fillings can restore teeth affected by decay after the damaged portion has been removed.
- In appropriate cases, composite resin can rebuild small chipped edges or areas of limited tooth damage.
- Many composite fillings can be placed and shaped during a single appointment, depending on the tooth and the extent of treatment.
- By rebuilding the affected area, a filling can help restore the tooth's shape and support normal biting and chewing.
- Composite resin can be used on many front and back teeth, although the best material depends on the tooth's location, the forces placed on it, and the size of the restoration.
When Composite Fillings May Be Recommended
Composite fillings may be suitable for cavities, minor chips, and certain damaged teeth when enough healthy tooth structure remains. They offer a natural-looking option for patients who want a restoration that blends with their smile. The best approach depends on the cavity's size, the tooth's location, and the pressure it experiences during chewing.
Extensive decay, significant cracks, or substantial tooth damage may require a crown or another treatment. Dove Family Dentistry can evaluate the affected tooth and recommend an appropriate restorative solution.
What Happens During Composite Filling Treatment?
Placing a composite filling involves removing damaged tissue when necessary, preparing the tooth for bonding, and carefully shaping the restorative material. The exact steps depend on the location and size of the cavity or damaged area.
Examine the Tooth and Identify the Damage
The team evaluates the affected tooth and surrounding tissues to determine the extent of the problem. Dental X-rays may be recommended when needed to assess decay that cannot be seen during a visual examination.
Prepare the Tooth
When decay is present, the damaged portion is removed while preserving healthy tooth structure whenever possible. Local anesthesia may be used to help keep you comfortable during treatment.
Select a Matching Composite Shade
The composite resin is selected to complement the natural color of the tooth. Shade selection is especially important for visible teeth, where a well-matched restoration can blend more naturally with the surrounding enamel.
Apply the Bonding Materials
The tooth is prepared so the composite resin can bond securely to the remaining structure. A bonding agent is applied according to the restorative technique being used, helping the material adhere to the tooth.
Place and Shape the Composite Resin
The composite is applied in layers and hardened with a special curing light. The material is carefully shaped to restore the tooth's natural contour and contact with neighboring teeth.
Check the Bite and Polish the Filling
Once the filling is shaped, the team checks how your teeth come together when you bite. Adjustments are made as needed before the restoration is polished to create a smooth surface.
Everyday Care for Long-Lasting Fillings
Composite fillings are designed for everyday use, but proper care helps protect the restoration and surrounding tooth. Brush twice daily with a soft-bristled toothbrush and fluoride toothpaste, and floss or use an appropriate interdental cleaner every day to remove plaque. Limit frequent sugary snacks and drinks to reduce the risk of new decay around the filling.
Avoid chewing ice, biting pens, opening packages with your teeth, or biting very hard foods, as these habits may damage the restoration. If you grind or clench your teeth, ask about ways to reduce excess pressure. Regular dental checkups also help identify wear, cracks, or changes around the filling before they become more extensive problems.
Repair Cavities and Protect Your Smile
Small cavities do not heal on their own, and they rarely stay small. A quick, comfortable filling today can help you avoid a root canal, crown, or extraction later. Our team at Dove Family Dentistry is ready to evaluate your teeth and restore them with natural-looking composite fillings. Visit us at 1203 East College Street in Brownsville, TN, and get your smile back on track. Call us at 123 456 789 to schedule a consultation with us.
Frequently Asked Questions About Composite Fillings
Composite fillings are tooth-colored restorations made from a blend of plastic resin and fine glass particles. They are bonded directly to the tooth to repair cavities, chips, and cracks. Because the material can be matched to your natural tooth shade, composite fillings look natural and are nearly invisible.