1203 East College Street Brownsville, TN 38012


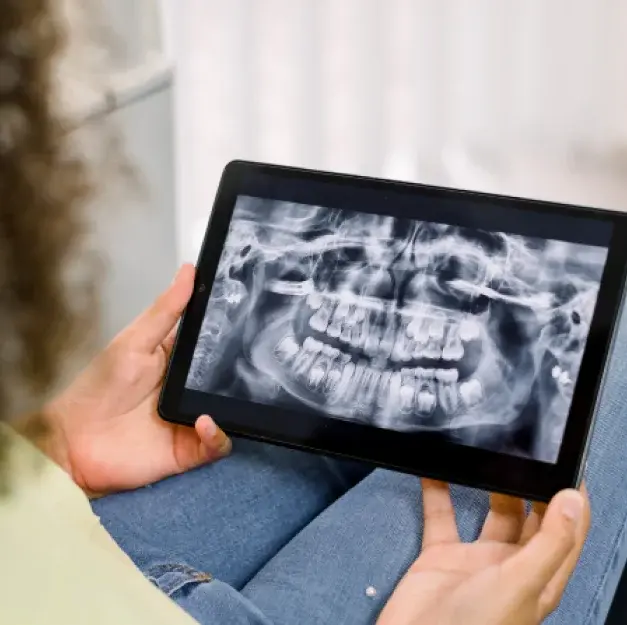
Detect Hidden Dental Problems With Imaging
A visual dental examination cannot reveal every oral health concern, as cavities between teeth, infections near tooth roots, bone loss, and impacted teeth may develop beneath the surface without noticeable symptoms. At Dove Family Dentistry in Brownsville, TN, digital dental X-rays help identify these hidden issues and support accurate diagnosis and timely treatment.
This technology uses an electronic sensor to capture detailed images that appear on a screen within seconds. Compared with traditional film X-rays, digital imaging generally uses less radiation and eliminates the need to wait for film development. Our team can also review the images with you, explain the findings, and discuss any recommended treatment.
Why Digital X-Rays Matter for Your Oral Health
Digital dental imaging provides important information that helps guide preventive, restorative, and other dental treatments. By identifying changes that may not be visible during a routine examination, X-rays can help our team make more informed decisions about your care.
- Dental X-rays can reveal cavities between teeth or beneath existing restorations that may be difficult to detect through a visual examination alone.
- Images can help identify changes around tooth roots, signs of certain infections, and bone loss associated with periodontal disease.
- When clinically appropriate, X-rays help evaluate the position and development of permanent teeth, including teeth that have not yet emerged.
- Images can help assess certain restorations, including fillings and crowns, for possible problems that require further evaluation.
- X-ray findings can help determine the extent of a dental concern and guide decisions about fillings, root canal treatment, extractions, or other necessary procedures.
- Digital images appear on screen quickly, allowing our team to review findings with you during your visit and explain any recommended treatment.
Who Can Benefit From Digital Dental X-Rays?
Digital dental X-rays may be recommended for children, teens, and adults when more information is needed to assess oral health. They are especially useful for patients with persistent tooth pain or sensitivity, suspected cavities between teeth or under existing restorations, a history of decay, or dental trauma. Imaging also helps evaluate tooth roots, surrounding bone, developing teeth, and certain treatments. Not every patient needs X-rays at every visit, so our team reviews your history and exam findings first.
What Happens During a Digital Dental X-Ray Appointment?
Obtaining digital dental X-rays is generally a quick part of a dental examination. The process focuses on capturing the appropriate images, reviewing the results, and using the findings alongside the clinical examination to understand your oral health.
Determine Which Images Are Needed
We review your symptoms, dental history, previous X-rays, and examination findings to determine whether new images are appropriate. The type and number of images depend on the specific concern being investigated.
Position the Digital Sensor
A small electronic sensor is positioned inside your mouth to capture the required image. Our team will guide you through the process and help you get comfortable before taking the X-ray.
Capture and Examine the Images
The digital sensor records the image, which appears on a computer screen within seconds. Our team reviews the images for signs of decay, changes around tooth roots, bone-related concerns, or other findings that may require further evaluation.
Discuss the Findings and Next Steps
We explain relevant findings and how they relate to your oral health. If a concern requires treatment, we discuss suitable options and answer your questions so you can make informed decisions about your care.
Tips for a Comfortable X-Ray Visit
Before your digital dental X-ray appointment at Dove Family Dentistry, a few simple steps can help make the experience more comfortable and efficient. If you have previous dental records or recent X-rays, let our team know so existing images can be reviewed and unnecessary repeat imaging may be avoided. Please also inform our clinical team if you are pregnant or think you might be, so appropriate precautions can be considered.
If you have a sensitive gag reflex, mention it before imaging begins. Our team can adjust sensor placement and timing to help improve your comfort during the procedure. Feel free to ask questions, as our team can review the digital images with you and explain any findings during your visit.
Advanced Imaging for More Informed Care
At Dove Family Dentistry, we help patients maintain healthy smiles through thorough dental cleanings and exams supported by digital X-rays when needed. Our team uses these images to identify potential concerns, assess your oral health, and explain recommended care clearly. Contact us at 123 456 789 to schedule your cleaning and exam in Brownsville, TN.
Frequently Asked Questions About Digital X-Rays
Digital dental X-rays use an electronic sensor instead of traditional film to capture images of the teeth, roots, and jawbone. The image appears on a computer screen within seconds and can be enlarged and enhanced, helping our team diagnose cavities, infections, and other hidden problems more accurately.